

Inventor - Some Tricks or Treats for Patterns (no Candy Corn)
Patterns are a great duplication tool in Inventor. You can create a pattern with Sketch mode or Model mode, it is a pretty basic and straightforward process. But unfortunately, too many users choose to not consider their more advanced uses or simply never look into such. In this blog post, we’ll touch on some of the tips & tricks (Tricks or Treats) you can use with patterns that’ll improve your efficiency.
For this post, I am going to assume you already know the basics of the Pattern tool. If you’d like me to write a post on the basics, please let me know, it may be long.
On most occasions with Rectangular patterns, you’ll run the pattern in one direction and or another, typically in a horizontal/vertical direction. At best, along a specific edge(s).
But what about those times when you need/want a direction that isn’t provided by an edge? This can be done by a sketch of the entities you want to use as the directional references.
Trick or Treat #1
For example, on the rectangular plate here, I want a pattern in a “diamond” arrangement. The first step is to create a sketch on the face of the plate and input the entities I will be using as references.
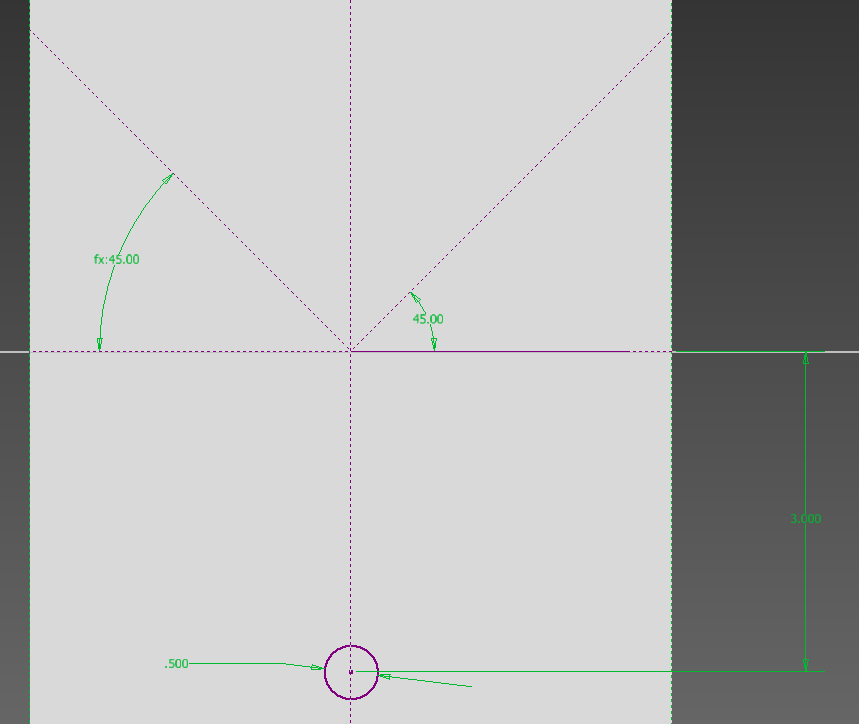
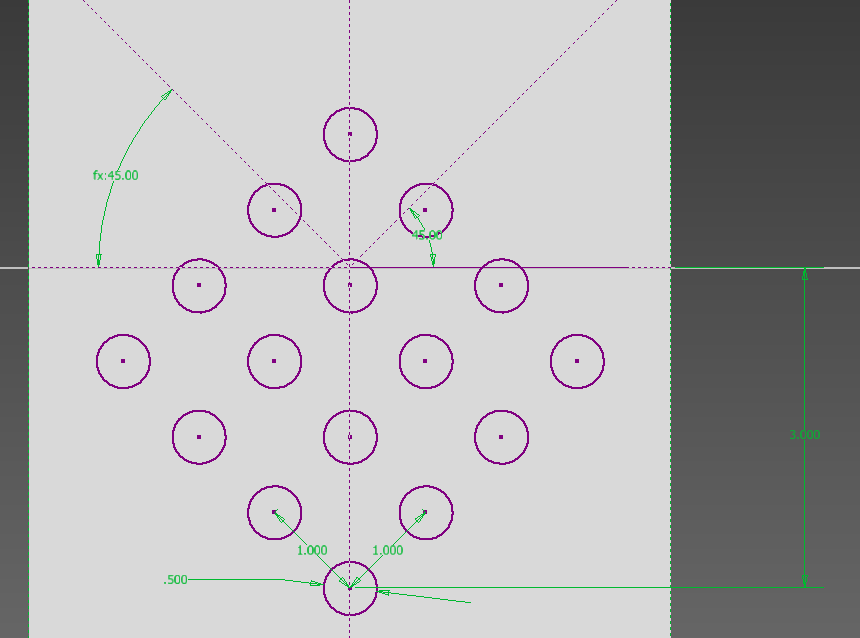
From here, finish the sketch and select the Rectangular Pattern command, input the number of instances for Direction 1 just as you’d do normally, but select the sketch entity you want to use for the first direction (in this case one of the 45-degree construction lines), repeat for the second direction if applicable.
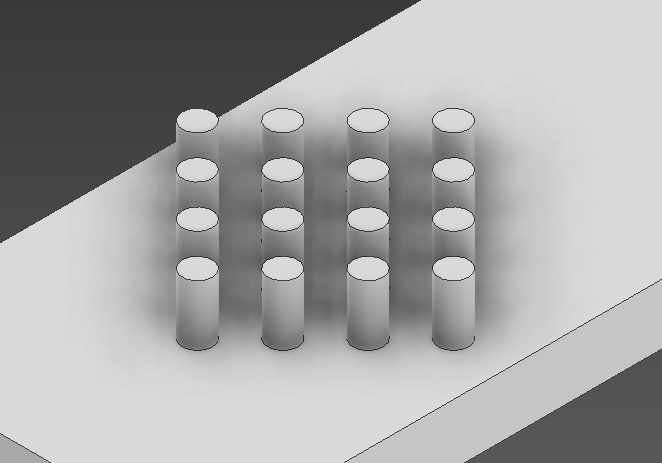
From here, use the 3D Boolean operation you desire for this pattern.
Trick or Treat #2
Did you know you can also use a reference curve that isn’t just straight? Let’s say you have a hole that you need to follow along the shape of your model.
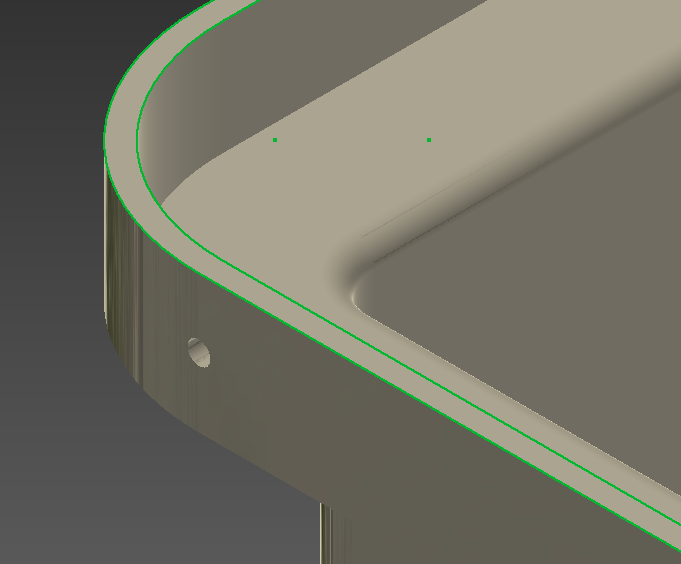
In this case, we want to pattern this hole around the flange. The first thing to do here is to create a sketch and project the curve we want the pattern to follow as seen here by projecting the face edges on the horizontal face.
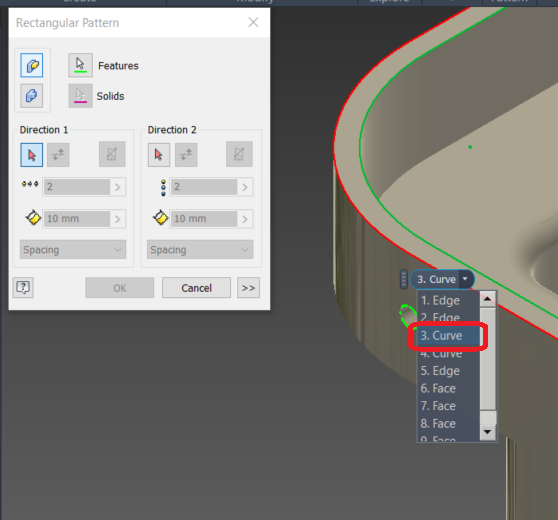
Start the Rectangular Pattern command and select the hole feature. Then on the Pattern menu, select the Direction 1 button, then place your mouse over the edge and wait for the selection filter to open, then select the “Curve” selection that highlights the entire outer edge in this case.
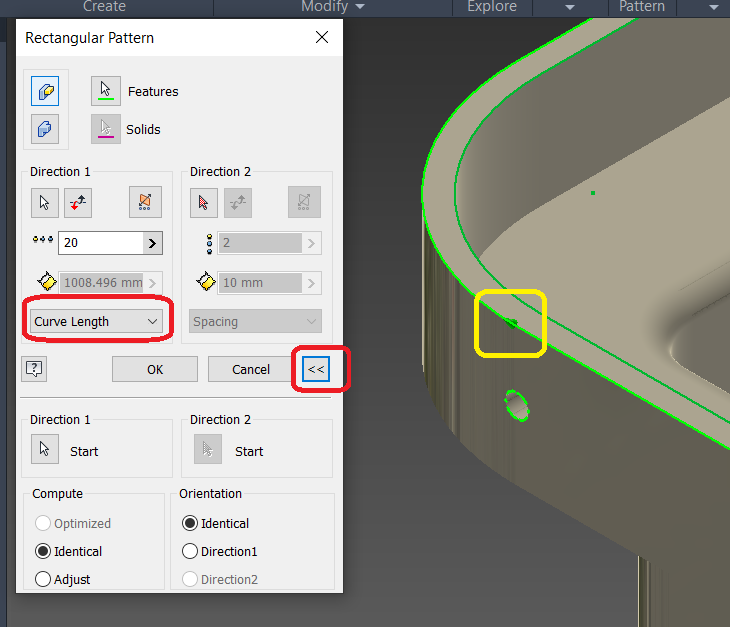
Once selected, you’ll see the green direction arrow. From here, input the number of instances required for the Distance, and select “Curve Length” from the pull-down. Then select the “Expand Menu” button.
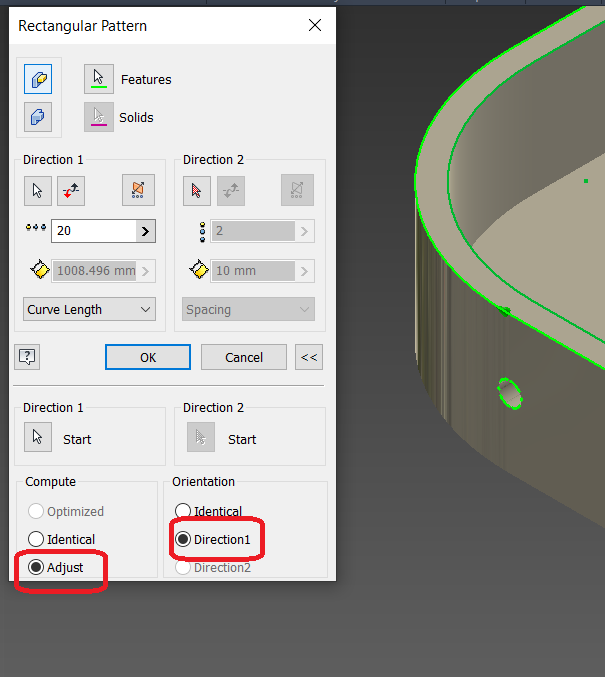
In the Compute section, select “Adjust” and for the Orientation section, select “Direction 1”.
Next, select the Direction 1 “Start” button and place the mouse near the end of the first edge of the reference curve until you see the yellow circle (vertex) and then click.

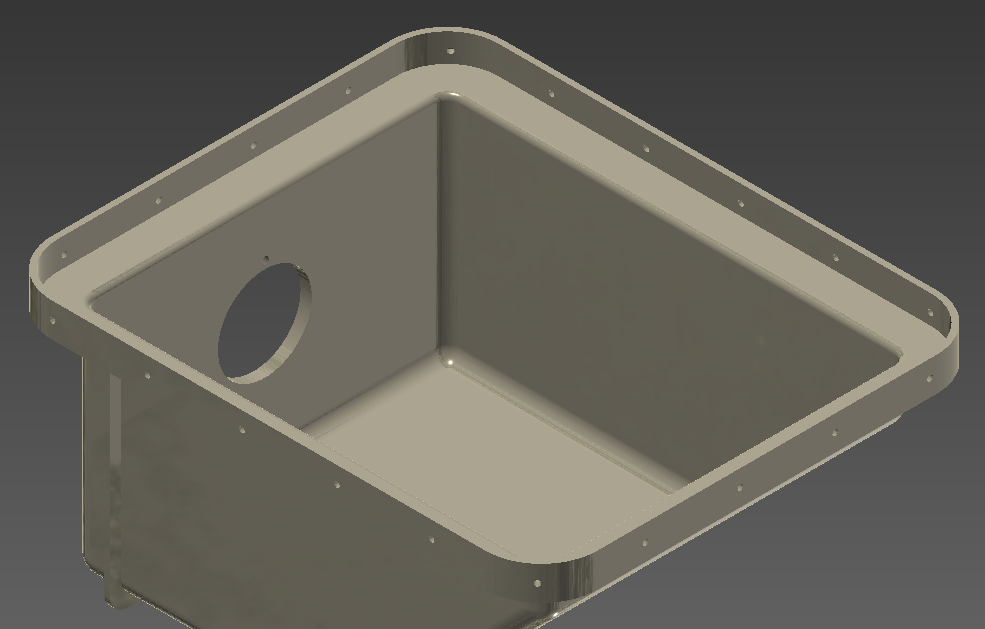
At this point you’ll see the patterned feature highlighted in the direction and orientation:

Select OK to complete the process:
Pretty neat huh? But wait, it gets much better.
Trick or Treat #3
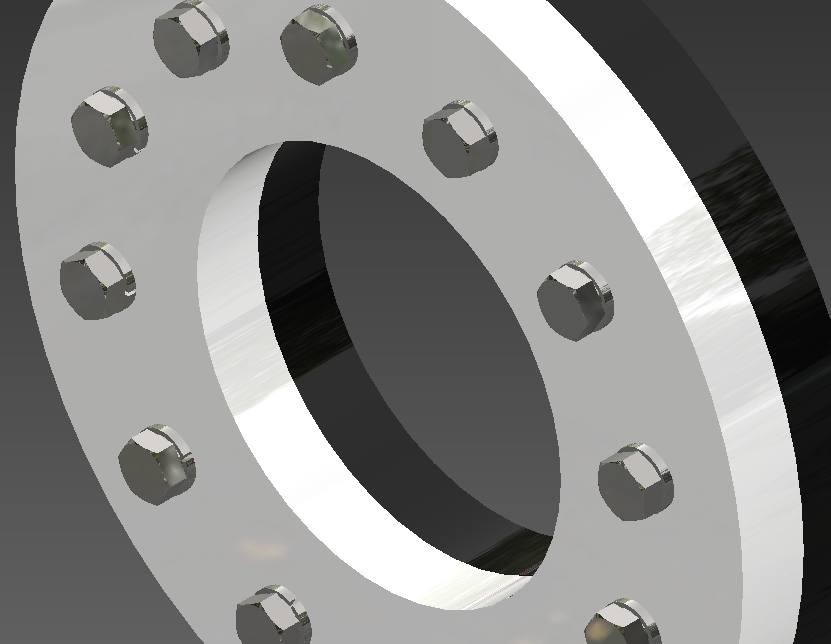
Using Inventor’s Bolted Connection on a Pattern will populate the correct hardware for each instance in the pattern.
For example, I have created two flanges and put them in an assembly. When I need to add the hardware, I use Bolted Connection command under the Design tab. On the menu, select the “Follow Pattern” option, add in the fasteners needed and select “Apply”.

Doing such will automatically add all specified hardware to the entire pattern.
Trick or Treat #4
One last Trick or Treat for this post…Let’s say you need a pattern but within that pattern, a few instances need to be removed/ignored.
Right-click the undesired element and in the pop-up, select “Suppress Element(s)” (you can select multiple elements by “Ctrl” & select the element(s), then RMB on the last one).
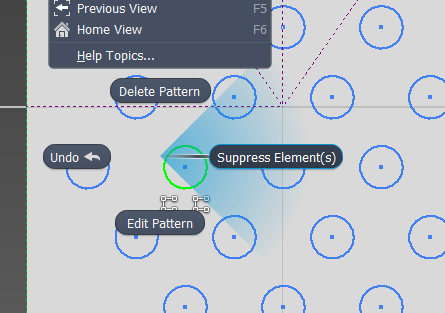

Those instances of the pattern will be ignored for the boolean process selected, in this case, an extrusion-subtract. Reverse the process to add a suppressed instance back into the pattern.

That’s just a few Tricks or Treats concerning patterns.